Replacing Your Car's Battery is E-Z

At Caruso Ford, Lincoln, Mazda Collision Center, we sometimes offer how-to blogs for our valued friends and customers in Long Beach, CA, so here is a simple step-by-step about how to change your vehicle's battery.
To get the job done right, you'll need a 1.) socket wrench set with extension or combination wrench 2.) gloves 3.) safety glasses 4.) baking soda and water 5.) wire brush or tooth brush and 6.) rags.
Car batteries will eventually die and that's the reality of it. Thankfully, replacing a automotive battery isn't really that difficult, as long as you don't get stranded somewhere.
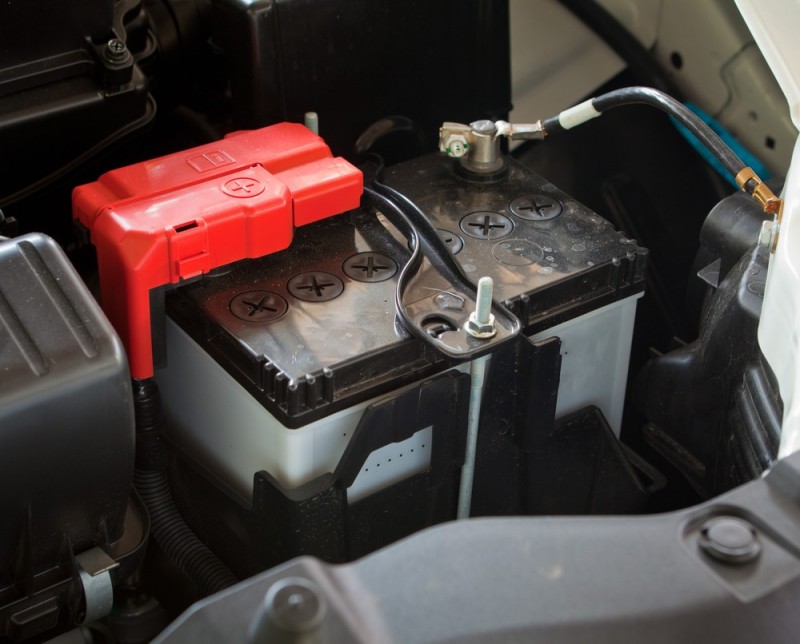
Step 1 - Detach Battery Cables: Begin with the negative (black) battery cable, and loosen the nut that holds it in place. You should use either a combination wrench or the proper size socket with extension and ratchet to efficiently remove it. Once you've done that, detach the negative cable completely and then perform the same steps with the positive (red) battery cable. If either cable is immovable or you had a hard time getting it off, you should use a battery terminal puller to do the job. Never use a screwdriver to pry it off, because that will damage the terminal or cable.
Step 2 - Remove Battery Clamp: Utilizing your combination wrench, remove the clamp that holds the battery in place.
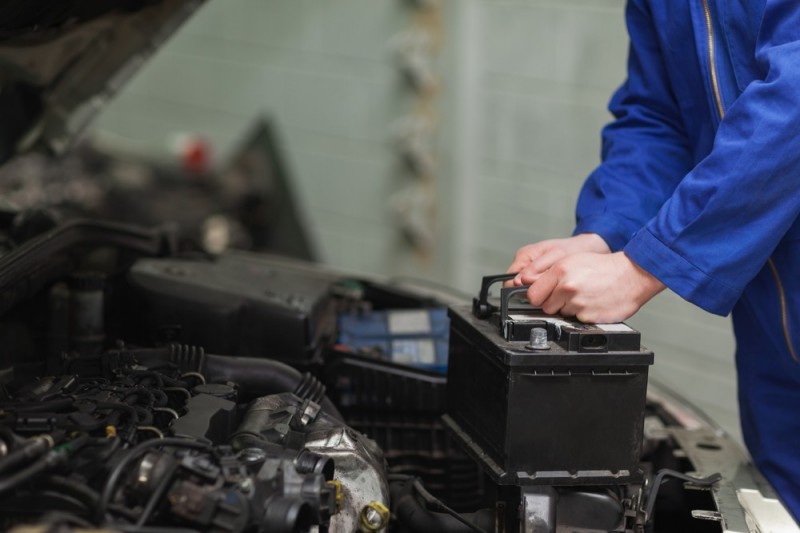
 Step 3 - Remove Battery: Use both hands to grasp the battery and remove it from the battery tray or if it has a handle, use that instead.
Step 4 - Remove Corrosion: Before you replace your old car battery with a brand new one, you should first clean up any corrosion that's left behind. Take a wire brush and use a battery cleaning solution for heavy corrosion.
Step 5 - Install New Battery: Place the new battery into the battery tray and secure it in place again with the battery's clamp. It is also a good idea to use some anti-corrosion battery terminal spray on both terminal ends. Make certain that the positive and negative terminals are on the correct side.
Step 6 - Re-connect Battery Cables: Re-attach the battery cables, starting with the positive (red) one first. Attach and secure the positive cable and then do the same with the negative (black) battery cable. Doing it in this specific order is important so that you do not have any electrical issues.
Step 7 - Check Your Work: First, make certain that all your cable connections and the battery clamp are tight and secure. Next, try moving the battery back and forth to ascertain that you don't have a weak electrical connection. Start your engine after you have installed the battery. If your vehicle starts without any issues and all your lights are working, you're good to go. If you have any dim lights, shut the vehicle off and re-check your connections for tightness.
If you follow these steps, you'll be back and on the road safely and with a battery that won't let you down.
Sources: YouTube, AOL and DIY Channel


 Step 3 - Remove Battery: Use both hands to grasp the battery and remove it from the battery tray or if it has a handle, use that instead.
Social